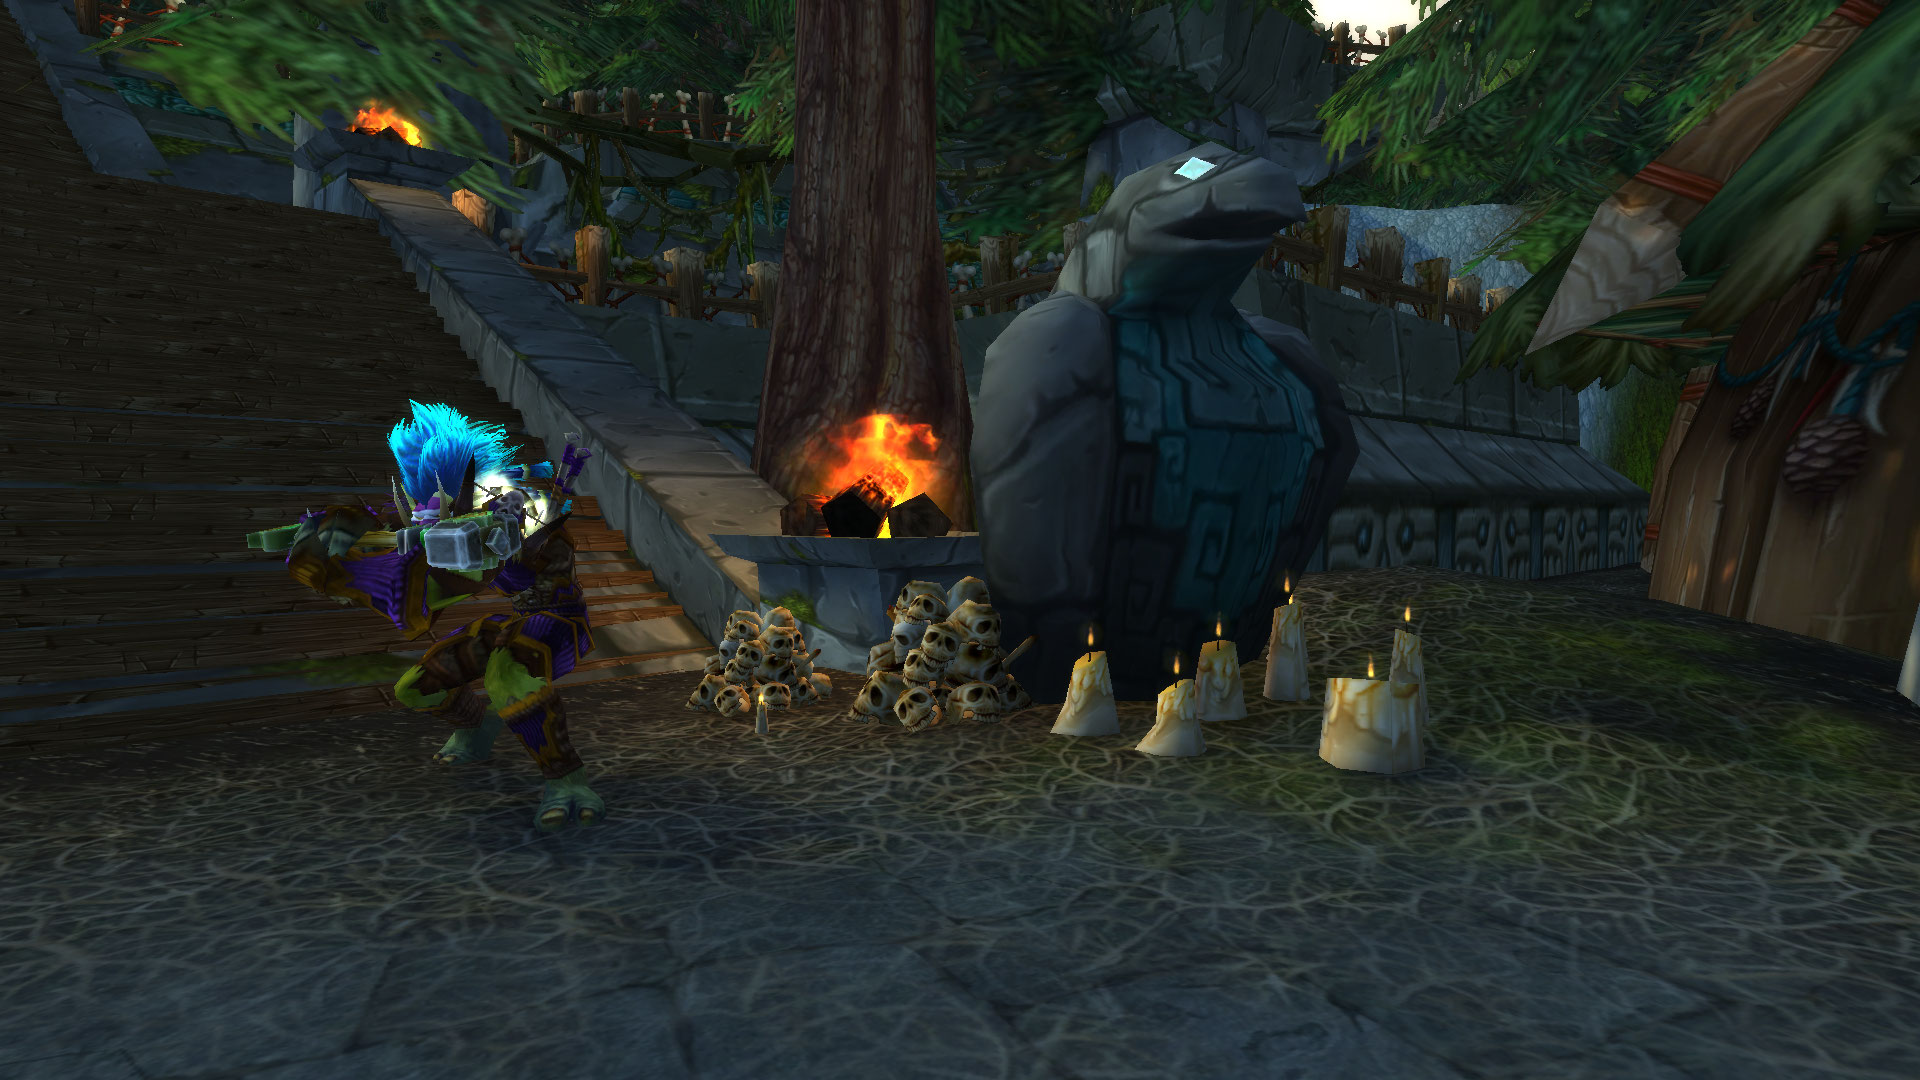
Zul’Aman’s expansion into a full Midnight zone reintroduced the Amani troll trap system as an open world mechanic that players can trigger, disarm, redirect, and weaponize against enemy players and rare spawn targets throughout the zone. These traps range from simple snare traps that immobilize targets for three seconds to devastating explosive traps that deal heavy area damage and apply a stacking damage-over-time effect that can kill undergeared players who trigger multiple traps in sequence. Understanding trap locations, trigger mechanics, and redirection techniques transforms Zul’Aman from a dangerous zone where traps ambush unwary players into a tactical environment where traps become tools that accelerate your rare spawns hunts, Prey System completions, and PvP encounters against opposing faction players contesting the same objectives.
Trap Types and Zone Distribution
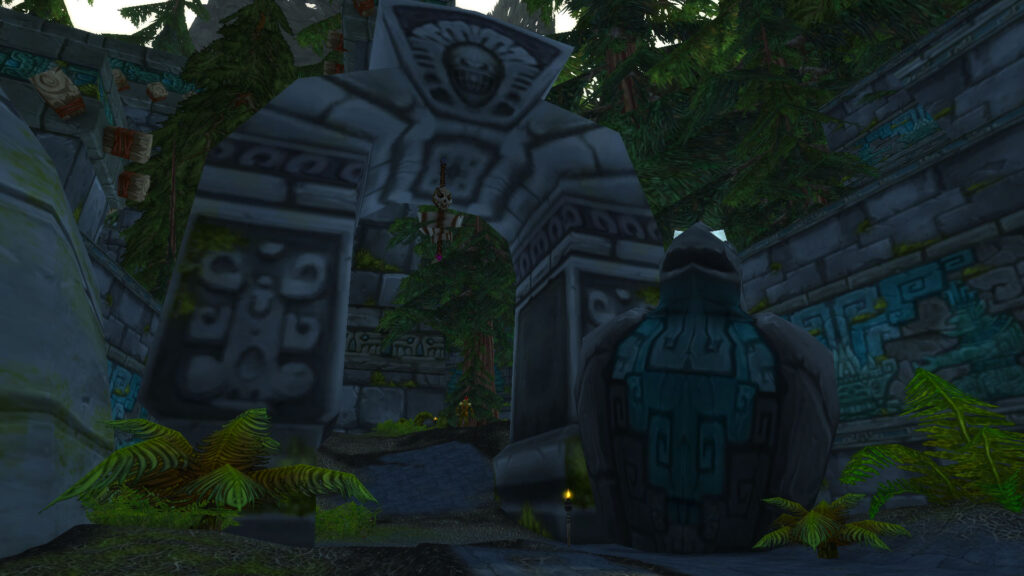
Zul’Aman contains four distinct trap types distributed across the zone’s expanded area, each with different trigger conditions, effects, and visual indicators that experienced players learn to identify and exploit. Snare traps activate when a player steps within two yards of the trap location, applying a movement speed reduction of sixty percent for eight seconds that prevents repositioning away from enemy adds or pursuing players. Explosive traps detonate when a player steps directly on the trap location, dealing moderate area damage to all players within five yards and applying a ten-stack burn damage-over-time effect that deals heavy damage over six seconds if not cleansed. Summoning traps trigger when a player approaches within three yards, spawning two Amani berserker adds that attack the nearest player and persist for thirty seconds or until killed. Silence traps apply a six-second silence effect to any player who triggers them, preventing ability usage and forcing the affected player to rely on auto-attacks until the silence expires.
| Zone Area | Trap Types Present | Trap Density | Visibility |
|---|---|---|---|
| Ziggurat one approach road | Snare, explosive | High, one trap per five yards | Moderate, visible with tracking |
| Ziggurat two interior | Summoning, silence | Medium, one trap per ten yards | Low, nearly invisible without detection |
| Ziggurat three perimeter | All four types | Very high, one trap per three yards | Low to moderate, mixed visibility |
| Jungle approach paths | Snare, summoning | Low, one trap per fifteen yards | High, clearly visible markers |
Ziggurat three’s perimeter contains the highest trap density and the most varied trap types, making it the most dangerous area to traverse but also the most rewarding for players who master trap redirection because the dense trap field enables chaining multiple trap activations against pursuing enemies or rare spawn targets that you kite through the trap zones. The jungle approach paths offer the lowest trap density but the highest visibility, making them the ideal training area for new players learning trap identification and disarming techniques before attempting the more heavily trapped and less visible ziggurat interiors.
Trap Detection and Disarming Techniques
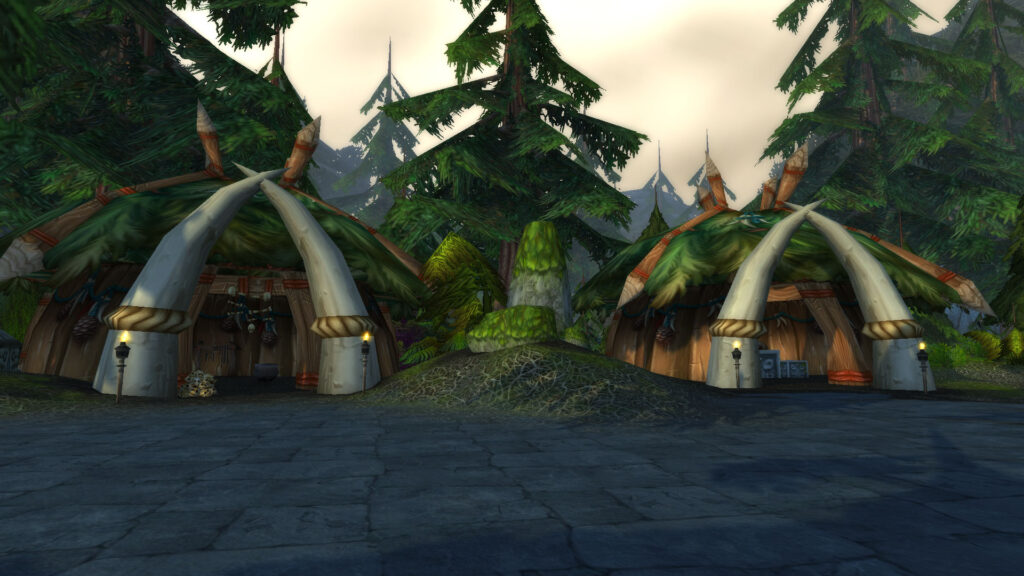
- Trap tracking abilities: Hunters with Track Hidden, rogues with Detect Traps, and death knights with Death’s Advance reveal nearby traps within their detection radius, allowing you to identify trap locations before triggering them and plan safe routes through heavily trapped areas without relying on trial-and-error trap triggering that costs health and time
- Disarming mechanics: Rogues can disarm traps directly using their Trap Disarm ability, removing the trap from the zone permanently for all players and awarding a small amount of Engineering skill if the player has the profession. Hunters and death knights cannot disarm traps but can trigger them from range using Misdirect and Death Grip respectively, activating traps safely at a distance that avoids the trap’s effect on the player who triggered it
- Environmental detection: Players without trap detection abilities can identify trap locations by observing the slight shimmer effect that all traps emit, a subtle visual distortion in the air above the trap location that becomes more visible when you adjust your camera angle to view the ground from above rather than from standard third-person perspective
- Safe route mapping: After detecting traps in an area, map your safe route by placing waypoint markers at trap-free locations using the in-game waypoint system, creating a visual path through the trapped area that you and your group members can follow without triggering any traps on subsequent passes through the same zone area
Disarming traps provides a small but meaningful zone completion bonus through the Amani Tribe reputation faction, awarding five renown per disarmed trap that accumulates across Zul’Aman’s hundreds of traps to provide substantial reputation acceleration for players who systematically clear trapped areas rather than simply avoiding them. This renown reward incentivizes trap disarming as a reputation farming strategy alongside quest completion and Prey System hunting, particularly for rogue players who can disarm traps quickly and efficiently as they patrol the zone for other objectives.
Trap Redirection and Enemy Weaponization
Trap redirection transforms Zul’Aman’s traps from hazards into weapons by triggering traps and then kiting the pursuing enemy through the trap zone, causing the enemy to trigger traps that you have already activated and suffer the trap effects while you remain safely outside the trap’s activation range. This technique works because traps remain active for thirty seconds after their initial trigger, continuing to apply their effects to any player who enters their activation zone during that window, and the thirty-second duration provides ample time to trigger a trap and then reposition so that your pursuers cross through the trap’s activation zone while you stand safely adjacent to it.
Explosive trap redirection deals the most damage to pursuers because the area damage and burn damage-over-time stack multiply when a pursuer triggers multiple explosive traps in sequence, and kiting an enemy through a dense explosive trap field can deal enough cumulative damage to kill undergeared targets without you dealing a single point of direct damage yourself. Snare trap redirection enables escape from pursuers by triggering snare traps behind you as you flee, slowing your pursuers’ movement speed while you maintain full speed and increase the distance between you and the chasing enemies. Summoning trap redirection forces your pursuers to deal with Amani berserker adds that spawn and attack the nearest target, which becomes your pursuer rather than you if you have kited far enough away from the summoning trap’s spawn location before the adds materialize.
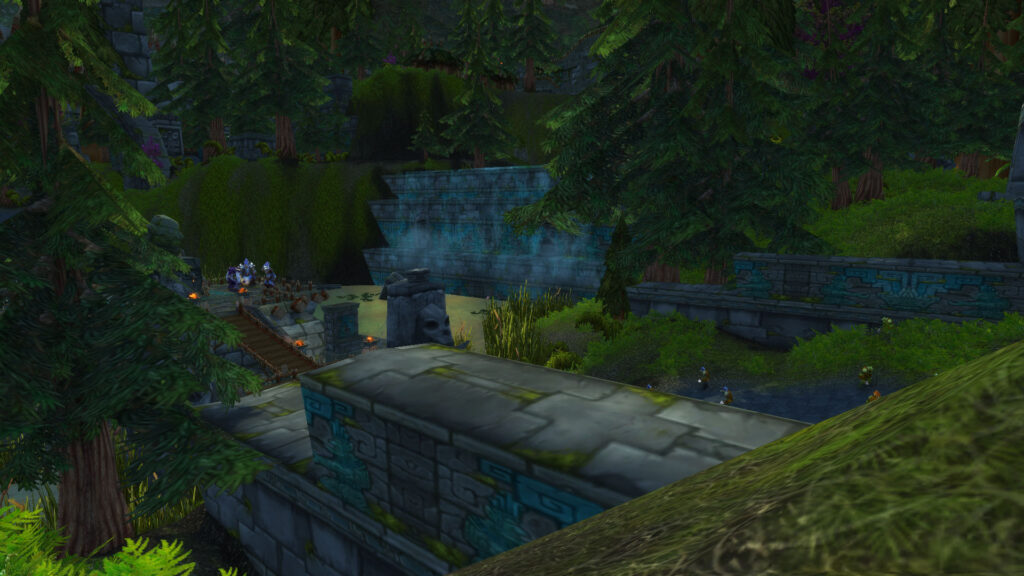
Advanced Trap Chain Strategies
Master trap users chain multiple trap types in sequence to create devastating effect combinations that amplify each individual trap’s impact beyond its base effectiveness. The standard trap chain begins with a snare trap that immobilizes the target, followed by an explosive trap that deals damage and applies burn to the immobilized target, then a silence trap that prevents the target from using cleanse or defensive abilities to counter the burn damage-over-time, and finally a summoning trap that spawns adds to attack the target while it is snared, burned, and silenced, unable to defend itself against the add swarm. Executing this trap chain requires precise positioning knowledge of where each trap type is located in the zone, the ability to kite targets through the specific trap locations in the correct sequence, and timing management that ensures each trap activates before the target moves out of range of the next trap in the chain.
Trap chains are most effectively deployed against rare spawn targets and Prey System hunts where the target’s AI follows predictable pursuit patterns that you can manipulate by positioning yourself at specific trap locations that the target will path through as it chases you back to its spawn point. Learn the patrol routes and pursuit patterns of your target rare spawns, identify the trap locations that intersect with those patrol routes, and plan your trap chain execution around the trap locations that the rare will naturally cross during its pursuit, eliminating the need to manually kite the rare through traps and allowing the rare’s own AI to trigger the trap chain that you have set up along its patrol path. This passive trap chain execution enables solo players to weaponize Zul’Aman’s traps against rare spawns and Prey System targets that would be too dangerous to kite manually, turning the zone’s trap network into an automated damage system that works while you focus on your own rotation and survival.
